Photo: Pexels
Every parent changes thousands of diapers before a child is potty trained, and the mechanics become second nature fast — but the first few in the hospital or at home can feel surprisingly fiddly. Here's the actual step-by-step, including the small details that aren't obvious the first time, plus what to do when things don't go according to plan.
By some estimates, a baby goes through around 2,000 to 3,000 diapers in the first year alone, so the small efficiencies you build into your routine now (where supplies live, how you position your baby, what you keep stocked in each room) pay off many times over. There's no single correct method, only one that's safe and works reliably for you and your baby, and it's fine if your routine looks different from a friend's or a hospital nurse's demonstration.
Step 1: Gather everything before you start
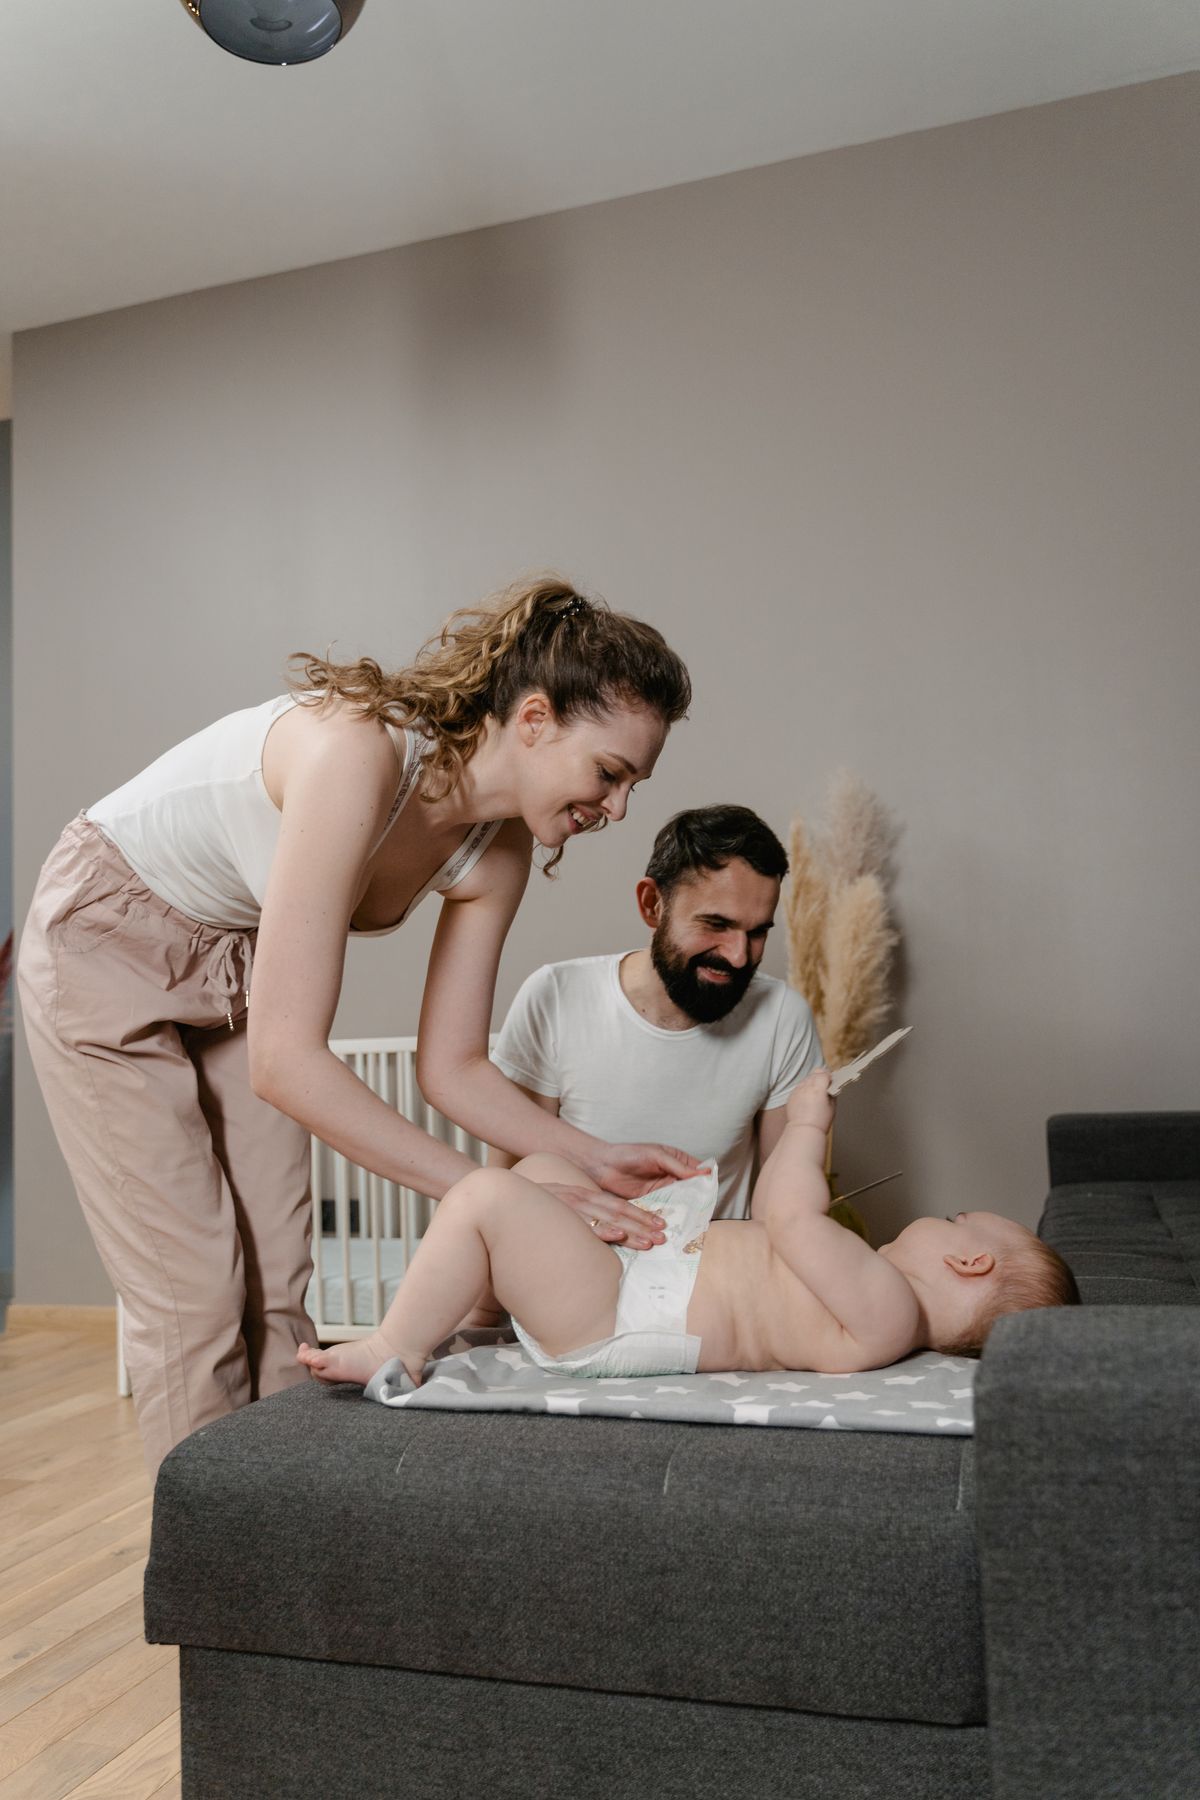
Never leave a baby unattended on a changing table, even for a few seconds — so lay out every supply within arm's reach first: a clean diaper, wipes (or a warm damp washcloth for a newborn), diaper cream if needed, and a change of clothes on standby in case of a blowout. Lay your baby on their back on a changing pad or firm, flat surface, keeping one hand on them at all times.
Step 2: Remove the dirty diaper and clean thoroughly
Unfasten the tabs and use the front of the diaper to do a first wipe of the bulk of any mess before removing it fully. Clean front to back — this detail matters more for girls, where wiping back to front can spread bacteria toward the urinary tract and raise infection risk. Wipe into the skin folds at the thighs and diaper area, which trap moisture and are a common spot for missed cleaning.
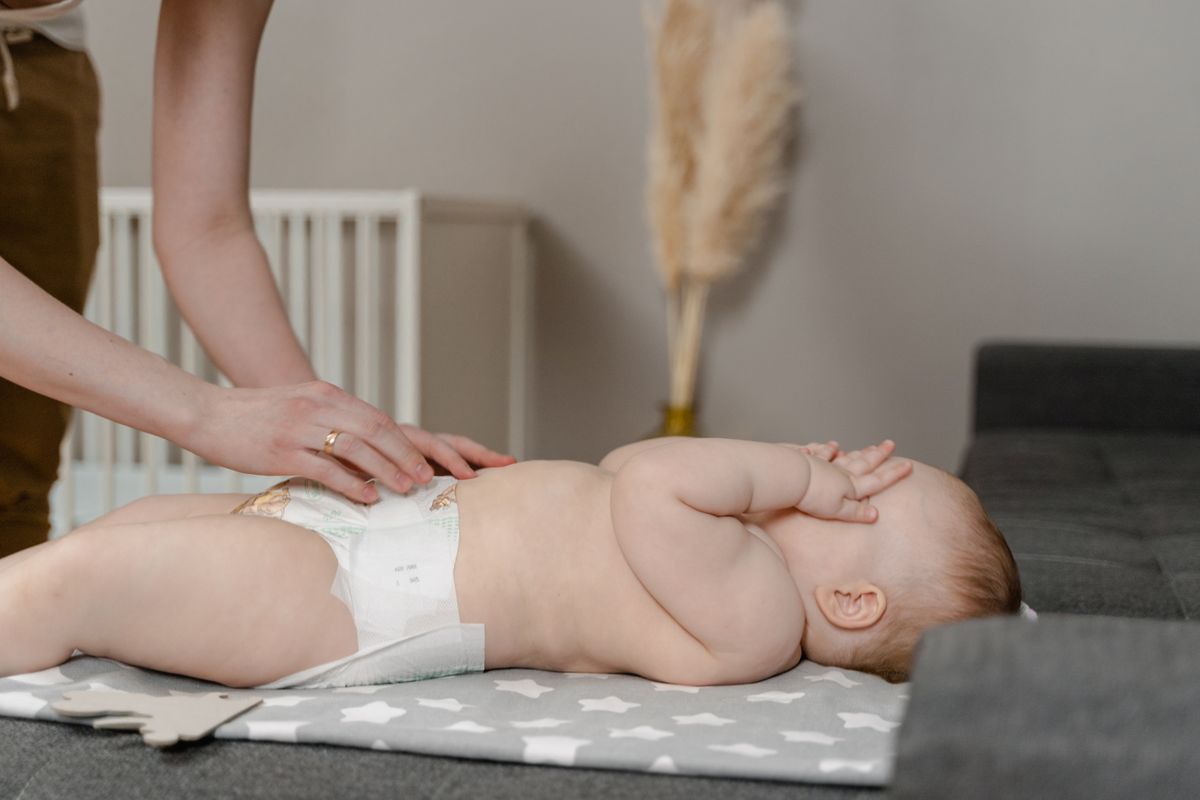
Photo: Pexels
For a baby boy, keep a clean cloth or the old diaper loosely over him while the area is open — exposure to cool air commonly triggers urination at the least convenient moment. Let the skin air-dry for a few seconds before putting on the new diaper; trapping moisture underneath is one of the most common causes of diaper rash.
Step 3: Fasten the new diaper and dress baby
Slide the new diaper underneath, back panel first, positioned so the top edge sits at the belly button (or folded down below it for a newborn's healing umbilical cord stump). Bring the front up between the legs and fasten both tabs evenly and snugly — you should be able to fit two fingers comfortably under the waistband; any tighter risks irritation, any looser risks leaks.

Photo: Pexels
- Check both leg cuffs are unfolded and lying flat against the skin — a tucked-in cuff is a common, sneaky cause of leaks.
- Apply diaper cream at the first sign of redness rather than waiting for a full rash to develop.
- Wash your hands thoroughly after every change, even when using hand sanitizer as a backup.
Cloth versus disposable: what actually changes in the process
The core steps of a diaper change are the same regardless of diaper type, but a few details differ with cloth. Cloth diapers typically use a reusable outer cover with a snap or hook-and-loop closure over an absorbent inner insert, and solid waste needs to be shaken or rinsed into the toilet before the diaper goes into a wet bag or pail for washing — a step disposables skip entirely. Cloth diapers also tend to need more frequent changes than disposables, since they don't pull moisture away from the skin as effectively, which means a slightly higher change frequency is normal and not a sign anything is wrong. Whichever type you use consistently, sticking with one system for stretches of time (rather than switching back and forth) tends to make fit and leak prevention more predictable, since sizing and absorbency vary between brands and types.
Handling a squirmy, mobile baby during changes
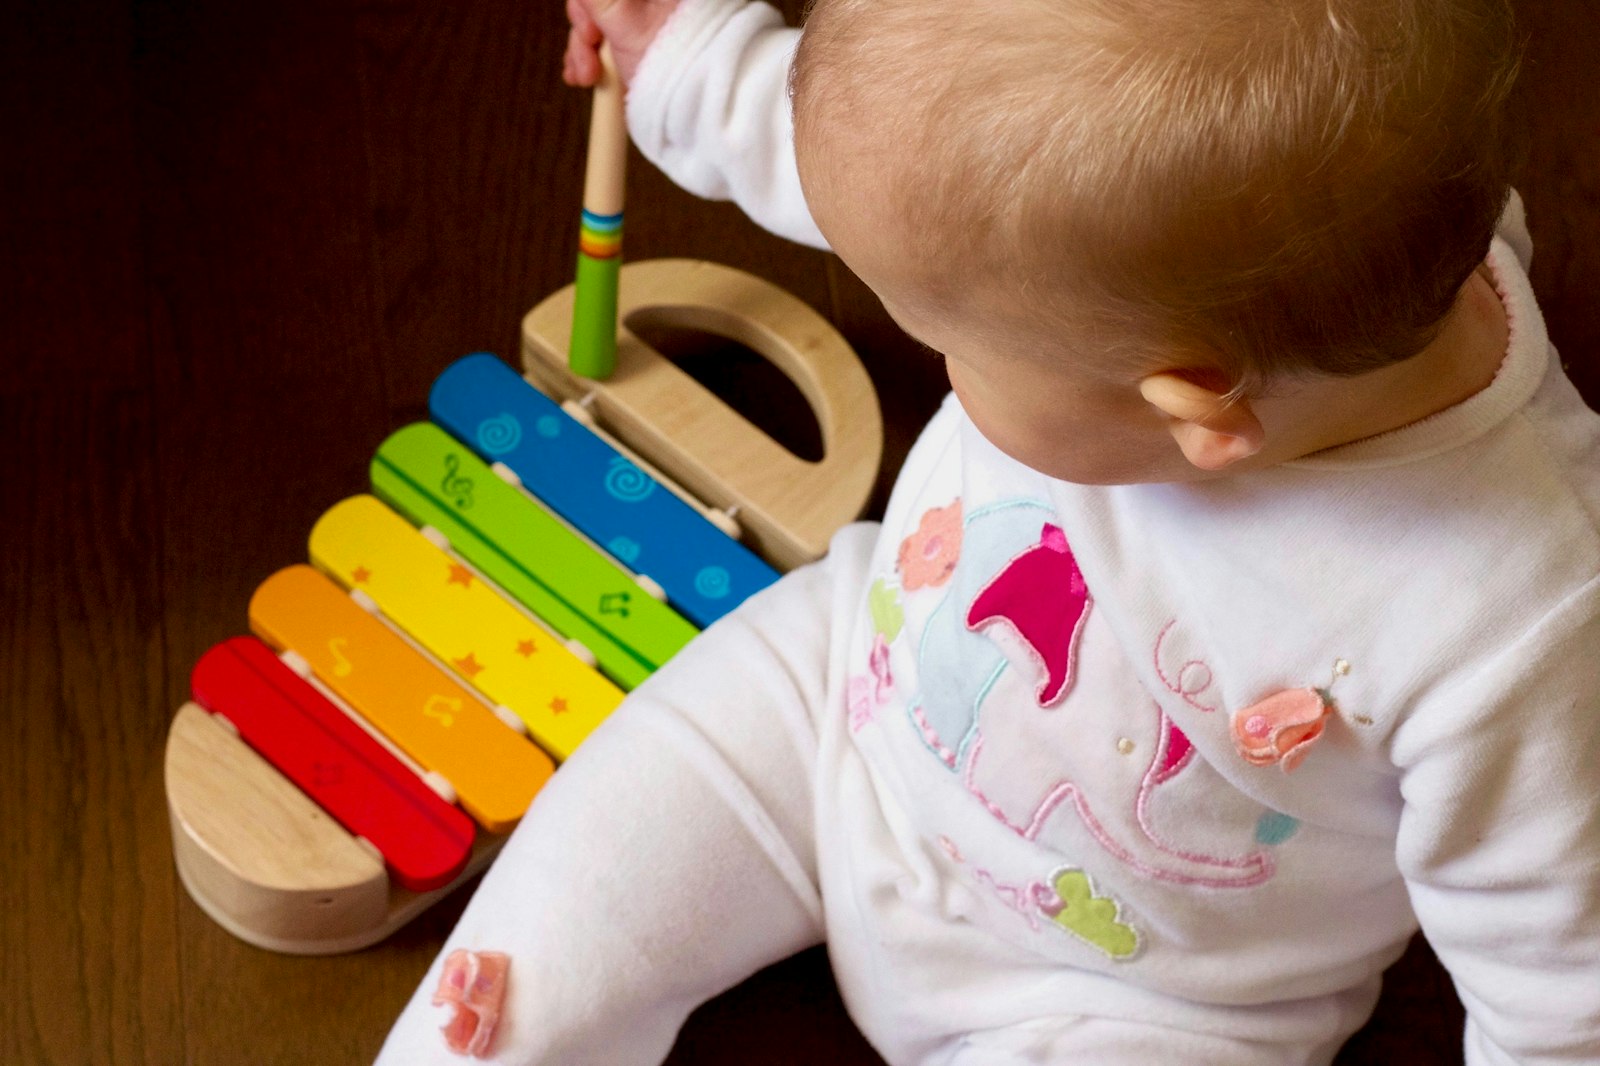
Diaper changes get noticeably harder once a baby can roll, sit up, or is generally more interested in escaping than lying still — a stage most parents hit somewhere in the second half of the first year. Having a small toy or object reserved specifically for diaper-change time (something a baby only gets to hold during changes) can buy a surprising amount of stillness through novelty alone. Changing a baby standing up once they're confidently pulling to stand is a legitimate alternative to fighting a wriggling baby flat on their back — many parents switch to standing changes for older babies and toddlers simply because it works better for both parties at that stage.
What different diaper contents can tell you
Diaper contents shift a lot in the first year and most changes are completely normal, even when they look surprising. Newborn stool often starts dark and tarry (meconium) in the first day or two, then transitions to a mustard-yellow, seedy texture within about a week, especially in breastfed babies. Starting solid foods typically changes both the color and smell of stool noticeably, and undigested bits of food are common and not a digestive problem on their own. Signs worth mentioning to your pediatrician include stool that's white or gray, black beyond the newborn meconium stage, contains visible blood, or is unusually hard and pellet-like alongside signs of discomfort — these can indicate something beyond typical dietary variation.
Getting the fit and size right
A diaper that fits well is the single biggest lever you have over leaks, and size is not just about your baby's current weight. Most brands print a weight range on the package, but babies grow at different rates in length and around the middle, so it's worth sizing up if you're seeing red marks at the waist or thighs, frequent leaks despite correct fastening, or a diaper that seems to sag by the end of a wear. Sizing down slightly can help if the diaper gaps at the legs even when fastened snugly. It's normal to keep two sizes in the house during a growth spurt, since babies rarely switch sizes overnight, and using up the smaller size for shorter stretches between changes avoids waste.
Overnight diapers, sold separately from daytime ones, hold more liquid and are worth switching to once a baby starts sleeping longer stretches, since a daytime diaper often can't keep up with 10 to 12 hours of overnight wetting.
Nighttime changes without a full wake-up
Keeping nighttime changes calm and quiet helps everyone get back to sleep faster. A dim night light or a small red-light lamp, rather than overhead lighting, avoids fully waking a baby who is otherwise ready to drift back off. Pre-stocking the changing area with everything needed, including a spare set of pajamas, means you're not fumbling in the dark for supplies with a fussy baby in hand. For a wet-only diaper overnight, some parents skip a full wipe-down and just do a quick, gentle clean to minimize stimulation, saving the more thorough clean for the morning change, as long as skin looks fine and there's no rash brewing.
Diaper bag essentials for changes away from home
- Two to three diapers per hour you expect to be out, plus a couple extra for unplanned delays.
- A travel pack of wipes and a small tube of diaper cream.
- A portable changing pad, since public changing tables vary widely in cleanliness.
- A scent-sealing disposal bag or two for dirty diapers when a trash bin isn't nearby.
- A full spare outfit, since blowouts have a way of happening on the days you least expect them.
- Hand sanitizer for a quick clean when there's no sink nearby.
Common mistakes worth avoiding
A few habits account for most avoidable diaper problems. Fastening a diaper too tightly to "prevent leaks" usually backfires by trapping moisture and irritating skin, when a properly fitted diaper with unfolded leg cuffs does the job better. Skipping the air-dry step before closing a fresh diaper is another common one, especially when in a hurry, and it's one of the easiest fixes for recurring rash. Using scented wipes or wipes with alcohol on sensitive newborn skin can trigger irritation that looks like a rash but is really a reaction to the product itself, so switching to a fragrance-free, alcohol-free wipe is worth trying if redness appears without an obvious cause. Finally, waiting too long between changes, particularly overnight, is one of the most common reasons rash develops in the first place, since prolonged contact with urine or stool breaks down the skin barrier.
When a diaper change reveals something to call the doctor about
Most of what shows up in a diaper is unremarkable, but a few signs are worth a call to your pediatrician: a rash that doesn't improve after a few days of basic care, blisters or open sores, a rash that spreads beyond the diaper area, a fever alongside a rash, or blood in the stool or urine. The CDC and the American Academy of Pediatrics both publish reliable, free guidance on newborn care basics if you want a second reference point beyond your own pediatrician; see cdc.gov for general infant health guidance.
Involving a toddler or teaching independence with diapering
Toddlers often go through a phase of resisting diaper changes altogether, which can turn a thirty-second task into a wrestling match. Giving a toddler small choices within the process, such as picking which diaper design to wear or holding the wipes package, tends to reduce the power struggle more than firmness alone. Narrating what's happening in simple language ("wet diaper off, clean diaper on, all done") helps a toddler anticipate the steps and feel less ambushed by the process. Some families find that a standing change works better than a flat one once a toddler is mobile and opinionated, since it feels less like being pinned down. As potty training approaches, involving a toddler in small parts of the process, like throwing the diaper away or helping pull up pants afterward, builds the habits that make the eventual transition to the toilet smoother.
Traveling with diapering supplies
Longer trips call for slightly different planning than a quick errand. For flights, keeping a full change of diapers and clothes in a carry-on rather than checked luggage protects against the inevitable blowout mid-flight when your suitcase is out of reach. For road trips, packing diapers in a soft-sided bag that fits under a car seat, rather than a bulky bin in the trunk, means you're not unpacking the whole car for a routine change at a rest stop. If you're traveling somewhere with a different water supply or climate, bringing a familiar wipe and cream brand can help avoid a skin reaction to an unfamiliar product on top of everything else that's already different about being away from home.
Frequently asked questions
How often should I change a newborn’s diaper?
Roughly every 2-3 hours, or as soon as possible after a bowel movement — newborns typically need 8-12 changes a day, dropping to 6-8 by a few months old.
What if my baby has a blowout that goes up their back?
Lay a clean onesie flat and pull it down over the head and off the arms rather than dragging a soiled onesie up over the face — it keeps mess contained and off your baby’s face and hair.
My baby keeps getting diaper rash even with frequent changes — what else can help?
Give bare-skin air time a few times a day when practical, switch to a thicker zinc oxide barrier cream at every change for a few days, and make sure the diaper isn’t too tight. If it doesn’t improve, see our full baby rashes guide for when it needs a doctor.
What size diaper should I buy if my baby is between two sizes on the chart?
Go with the larger size. A diaper that's a little roomy is less likely to leave marks or leak than one that's tight, and most babies grow into it within a few weeks anyway.